

What does the inside of your oven look like?
Do you assume it’s fine? Obviously we see the inside of our ovens when we are putting food in or taking food out of the oven. Still, I never look close enough or long enough at the inside of my oven. Honestly, I don’t know how clean the inside of my oven looks.
To go along with never really looking inside my oven, I did not clean my oven for years. I never observed or noted that my parents cleaned their oven, so never really thought about it. There were brief moments where I thought about cleaning my oven, but then I thought about how hot it gets in there when I cook stuff. I figured the heat from regular use is sterilizing the oven to some extent, so why clean it.
I’m confessing all of this because I wonder if I am the only person who goes years without cleaning their oven while figuring life out. I assume that there are people who from the very start of having their own place clean their oven regularly. I wonder what the split is. How often does the average 24-34 year old clean their oven?
I am hoping that I am the norm, that the average 24-34 year old barely ever cleans their oven. I hope that I am not some abnormal disgusting person for not cleaning my oven…
Anyways, I finally learned how to clean an oven and for the first time in my life I am not scared at the thought of cleaning my oven.
Turns out that cleaning your oven is easier than you think it is.
If you are interested here are the details of how I was motivated to learn how to clean an oven.
Our Family’s OVEN FIRE
While staying at my grandparents home, I was cooking a lasagna in their oven when a fire started in the oven. I am not talking about a small flame. This was a full blown camp fire in the oven. I was scared that we might burn the entire house down.
It was quite the site to see everyone standing around chatting. I opened the oven and there it was. I said very seriously and calmly there’s a fire. Everyone hesitated and then looked at the oven in fear.

We proceeded to get the food out so it didn’t catch fire and closed the oven door. By the time we got back to the oven to put the fire out, the fire had suffocated and all flames were gone. After a very smokey lasagna, we checked the inside of the oven to find a large mass of something that was spilled on the bottom of the oven.
The mass in the bottom of the oven had been the cause of the oven fire in this event. To prevent another fire from happening, it was decided that the oven must be cleaned. What do you do when you need to clean something that you have never done before?
I started on google and then asked some of my older siblings who each had their own way of cleaning the inside of ovens. By the end of the trip I felt like an experienced oven cleaner with two-three methods for cleaning.
If you do not have a giant mess in your oven, that puts your oven at risk for a fire, you might be wondering why do I care, why do I want to clean my oven?
So, we compiled a list of reasons why you want to clean your oven. The below list is compiled from the following sources; fire safety, chefs, advocates of eco-friendly living, and individuals trying to save as much money wherever they can.
Cleaning Tips: Why You Should Clean Your Oven
1 To Prevent Fires, Your Family’s Safety
Spills in your oven can lead to dangerous fires that can destroy your home.
2 Better Tasting Food
By cleaning your oven you will prevent smoke or other particles from any spilled food in your oven from getting into the food you cook. This leads to better, or cleaner taste of your food. Some people might worry that their oven food will taste like the substance they use to clean their oven.
From personal experience, I can tell you that food cooked in a cleaned oven does NOT taste like the cleaning solutions used to clean your oven. Please note, the assurance of your oven cooked food not tasting like a cleaning solution is of course only from my personal experience with the use of the cleaning solutions and cleaning methods, listed here in this post.
3 SAVE MONEY or ENERGY to Increase the Life of Your Oven
Particles or material on your oven makes your oven have to work harder to heat and maintain temperatures. The cleaner your oven is the less work your oven has to do, to heat and maintain temperatures. Therefore your oven will last longer, saving you more money, the more regularly you clean your oven.
Now that we have some reasons to clean our oven let’s get down to how to clean your oven.
How to Clean Your Oven
To clean your oven you will first need to gather supplies. There are 2.5 methods here to clean your oven, depending on your preference or materials you have handy. You can also use multiple methods if you have a particularly stubborn mess that you are cleaning. You can also choose to use just one method to clean your oven if it gets the job done.
Options 1 & 1.5 listed below are natural ways to clean your oven, chemical free.
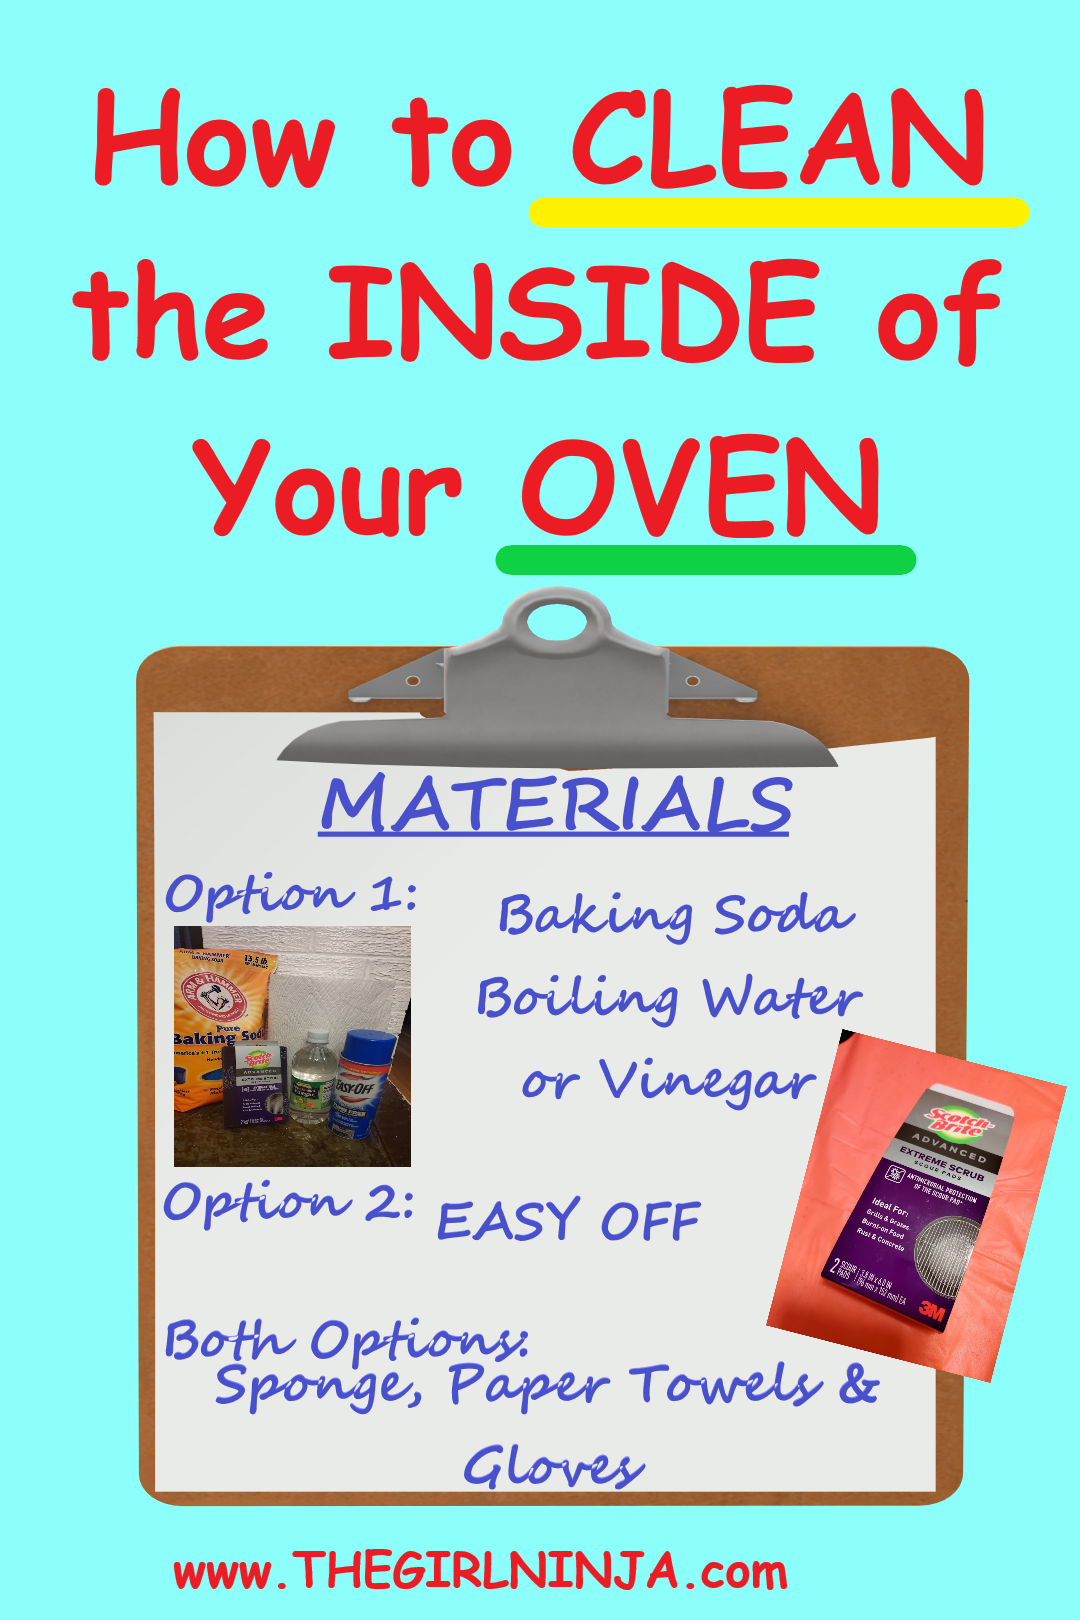
Materials to Clean Your Oven
Option 1
Paper Towels or towels
Sponge
Baking soda
Hot water, boiling is best
Option 1.5
Paper Towels or towels
Sponge

Baking soda
Vinegar
Option 2
Paper Towels or towels
Sponge
Easy off
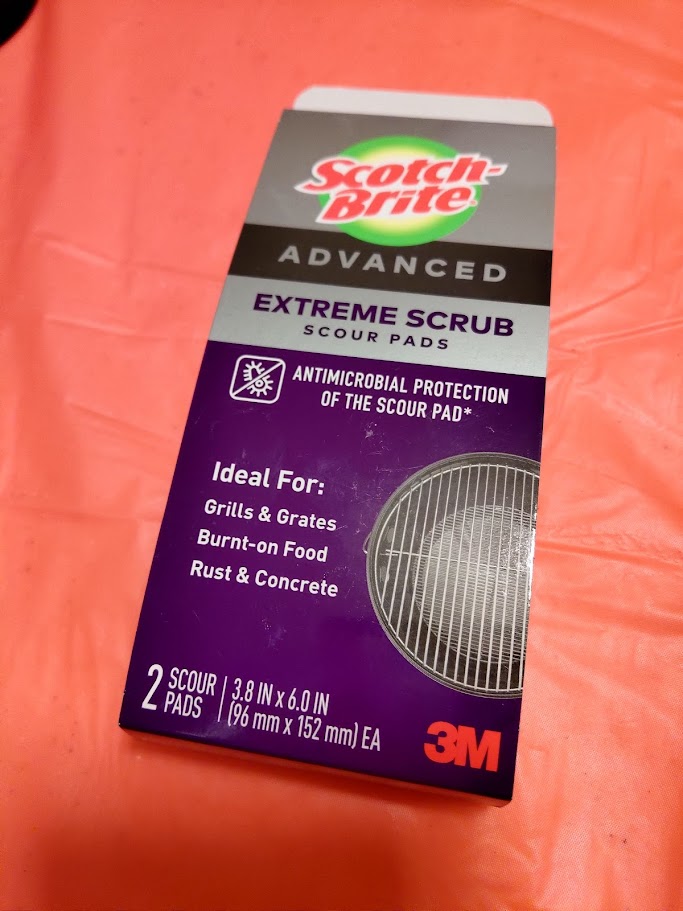
For all the methods listed I recommend the following sponge from personal experience.
Scotch-Brite Advanced Extreme Scrub Scour Pads
HOW to CLEAN YOUR OVEN
For all options steps 1-2 are the same.
Step 1)
Ensure your oven is off and completely cooled from last use. Safety comes first!
Step 2)
Wipe the inside of your oven down with paper towels or a washcloth to ensure any loose or moist waste is removed. When wiping the inside of your oven start at the top with the ceiling of the inside of your oven and then wipe down the back wall of your oven. After the ceiling and back wall of your oven is wiped down, wipe down the two side walls of your oven. Then wipe down the floor of the inside of your oven. Lastly, wipe down the inside of your oven door.
For Options 1 & 1.5 follow the steps below
Step 3)
In a tupperware container or bowl mix a cup of baking soda with tap water until you have a paste-like substance. The water from your tap that you mix with the baking soda can be any temperature, I use the cold water that comes out.
If you are worried about adding too much water and getting a soupy substance, start your combination with just 3 tablespoons of water added to your baking soda. Then add a tablespoon more at a time until you have a paste-like substance. Also, please note that depending on if you are spot cleaning or cleaning the entire oven you can modify how much baking soda you use. The end goal is for a thin layer of the paste to be spread over the areas you will clean in your oven.
Step 4)
Use a spatula to spread a thin layer of your paste-like substance of baking soda and water over the areas in your oven you will clean. If you have a spill in your oven, you will want to spread the baking soda and water mix generously over the spill. Be sure to surround the spill by an inch or two on the sides moving away from the spot with your baking soda and water mix.
If you are cleaning your entire oven with the baking soda and water paste, spread a thin layer of paste over the floor of your oven. It does NOT need to be a perfectly spread carpet of your paste, you can have fairly large gaps between your paste. You can also spread a bit of your paste on the walls of your oven.
To spread paste on the walls of your oven, spread a thin strip of paste across the top of the wall. Then go down to about halfway down the wall of your oven and spread another thin strip of paste across the oven wall.
To clean your oven, do not wipe your paste-like substance on the ceiling of your oven. You will wipe down the ceiling of your oven at a later point, but for now, you will leave it alone. If you have a spot on your ceiling I recommend using Easy-Off, Method 3, and you will want to place a bowl under the ceiling area that you spray with Easy-Off.
Step 5)
Enjoy a Glass of Wine or just take a break, or go ahead and go to bed for the night. That’s right, the paste-like substance will do it’s magic while you sleep.
It’s really up to you what you do with this time. After you have a layer of your cleaning substance applied to your oven, you will want to let it sit for a bit, depending on how dirty your oven is. If your oven does not have any spots from spills on it, and you consider this a maintenance clean, you can let the cleaner sit for 10 minutes.
For stuck on food spots or stubborn messes it is recommended that you let the cleaner sit for at least 4 hours and for as long as 12 hours. You can modify those durations for what works best for your schedule. I’m impatient and tend to let mine sit for about 30 minutes, so really up to you. The longer you let the cleaner sit on the mess you are trying to clean the easier it will be to wipe the mess away.
Step 6: Option 1)
After you wait for your decided duration you will slowly pour boiling hot water over the paste in your oven. You can use a teapot to pour the water to make it easier for you. If you have paste on the walls of your oven use the teapot to pour the hot water over the paste on the walls of your oven. Be careful not to pour too much water, you do not want the water to overflow your oven and spill all over your floor.
Step 6: Option 1.5)
After you wait for your decided duration you will slowly pour vinegar over the paste in your oven. You can use a teapot or spray bottle to apply the vinegar, to make your life easier. If you have paste on the walls of your oven use the teapot or spray bottle to apply vinegar to the paste on the walls of your oven. Be careful not to pour too much vinegar, you do not want the vinegar to overflow your oven and spill all over your floor.
Step 7)
Next, you will want to use the sponge to start to scrub at any particular dirty spots. If you do not have a particular spot you are trying to clean, you can use paper towels or a towel to wipe away the paste-like substance. As you scrub or wipe away the cleaning substance, apply pressure to clean the surface of the inside of your oven. (You will want a trash bag or a towel collecting bin close by to drop dripping towels or sponges in.)
For Option 2 follow the steps below
Follow Steps 1 & 2 above.
Step 3)
Spray Easy-Off to the inside of your oven. If there is a particular spot you are trying to clean you can just apply to that spot or if you want to clean the entire inside of your oven apply Easy-Off lightly over all walls of your oven as well as the floor and ceiling of your oven and the inside of your oven door.
Step 4)
Enjoy a Glass of Wine or just take a break, or go ahead and go to bed for the night. That’s right, the paste-like substance will do it’s magic while you sleep.
It’s really up to you what you do with this time. After you have a layer of Easy-Off applied to your oven, you will want to let it sit for a bit, depending on how dirty your oven is. If your oven does not have any spots from spills on it, and you consider this a maintenance clean, you can let the cleaner sit for 10 minutes.
For stuck on food spots or stubborn messes it is recommended that you let the cleaner sit for at least 4 hours and for as long as 12 hours. You can modify those durations for what works best for your schedule. I’m impatient and tend to let mine sit for about 30 minutes to 2 hours, so really up to you. The longer you let the cleaner sit on the mess you are trying to clean, the easier it will be to wipe the mess away.
Step 5)
After you wait for your decided amount of time, you will want to use the sponge to start to scrub at any particular dirty spots. If you do not have a particular spot you are trying to clean, you can use paper towels or a towel to wipe away the paste-like substance. As you scrub or wipe away the Easy-Off, apply pressure to clean the surface of the inside of your oven. (You will want a trash bag or a towel collecting bin close by to drop dripping towels or sponges in.)
Start on the ceiling of your oven and work down each of the walls of your oven. Then clean the floor of your oven, and lastly you will clean the inside of the door of your oven. Once your oven is completely wiped out and dry, your oven is clean.
Ta Da! Hopefully your oven has never looked cleaner!
A note or two on the learning process that you might find helpful.
If you are cleaning a stubborn spot have a helper. I switched off with my husband for the stubborn spot we were getting out of our grandmother’s oven.
Pillows or pads to put down on the floor as you scrub so your knees don’t ache make a world of a difference.
Last, but not least, I would like to give a shout out to two of my older sisters that advised me throughout my first cleaning of an oven.
THANK YOU
As always you both make my life so much easier with your wisdom and guidance. For readers looking at this post for help, know that I included all of my sisters’ wisdom in the post to make your life easier as well.